Drawing One Punch Man can unlock your creativity while connecting you to the vibrant world of anime and manga. This guide offers a structured, step-by-step approach to help you capture the essence of this iconic character, regardless of your current skill level. Whether you’re a budding artist or looking to improve your technique, mastering the art of drawing One Punch Man can boost your confidence and inspire your artistic journey. By following these instructions, you’ll not only learn the fundamentals of drawing but also gain a deeper appreciation for the artistry behind comic characters. So grab your pencils, and let’s dive into the exciting world of One Punch Man, where every stroke brings the hero to life and fuels your passion for art.
How to Gather Reference Images for One Punch Man
Gathering reference images is a crucial step in the process of mastering the art of drawing characters from One Punch Man. Creating compelling and accurate representations of these figures requires more than just imagination; it demands a well-curated collection of visual references that capture the nuances and distinctive elements of the characters.
To start, explore a variety of sources where you can find high-quality images of One Punch Man characters. Websites like DeviantArt, ArtStation, and even Pinterest can provide a treasure trove of fan art and different artistic interpretations. Google Images is another useful tool; however, be mindful of the quality and resolution of the images you choose. When searching, use specific queries like “Saitama One Punch Man poses” to zero in on the types of references that will enhance your understanding of the character’s design and expressions.
Next, consider screenshots from the anime itself. These snapshots can reveal the fluidity of the characters’ movements and the subtleties of their facial expressions during key scenes. Use streaming services that provide access to One Punch Man, or look for reputable anime screenshot databases. By collecting images from various angles and situations, you will equip yourself with a diverse library that showcases the characters in both action and stillness.
Don’t overlook the benefits of traditional manga panels. They often display characters in dynamic poses and capture the essence of their personalities through facial expressions. Scanning through the manga, either digitally or in print, can provide context for how different scenes are framed and paced, which is invaluable for anyone looking to depict action sequences authentically.
Lastly, ensure your reference images are well-organized. You might consider using a digital tool like Pinterest Boards or an app designed for organizing images. Group your images into categories based on characters, poses, or expressions, which will streamline your creative process as you refer to them while sketching.
By investing time and effort into gathering diverse and high-quality reference images, you’ll build a solid foundation for your One Punch Man artwork, setting yourself up for success as you move into the sketching and drawing stages.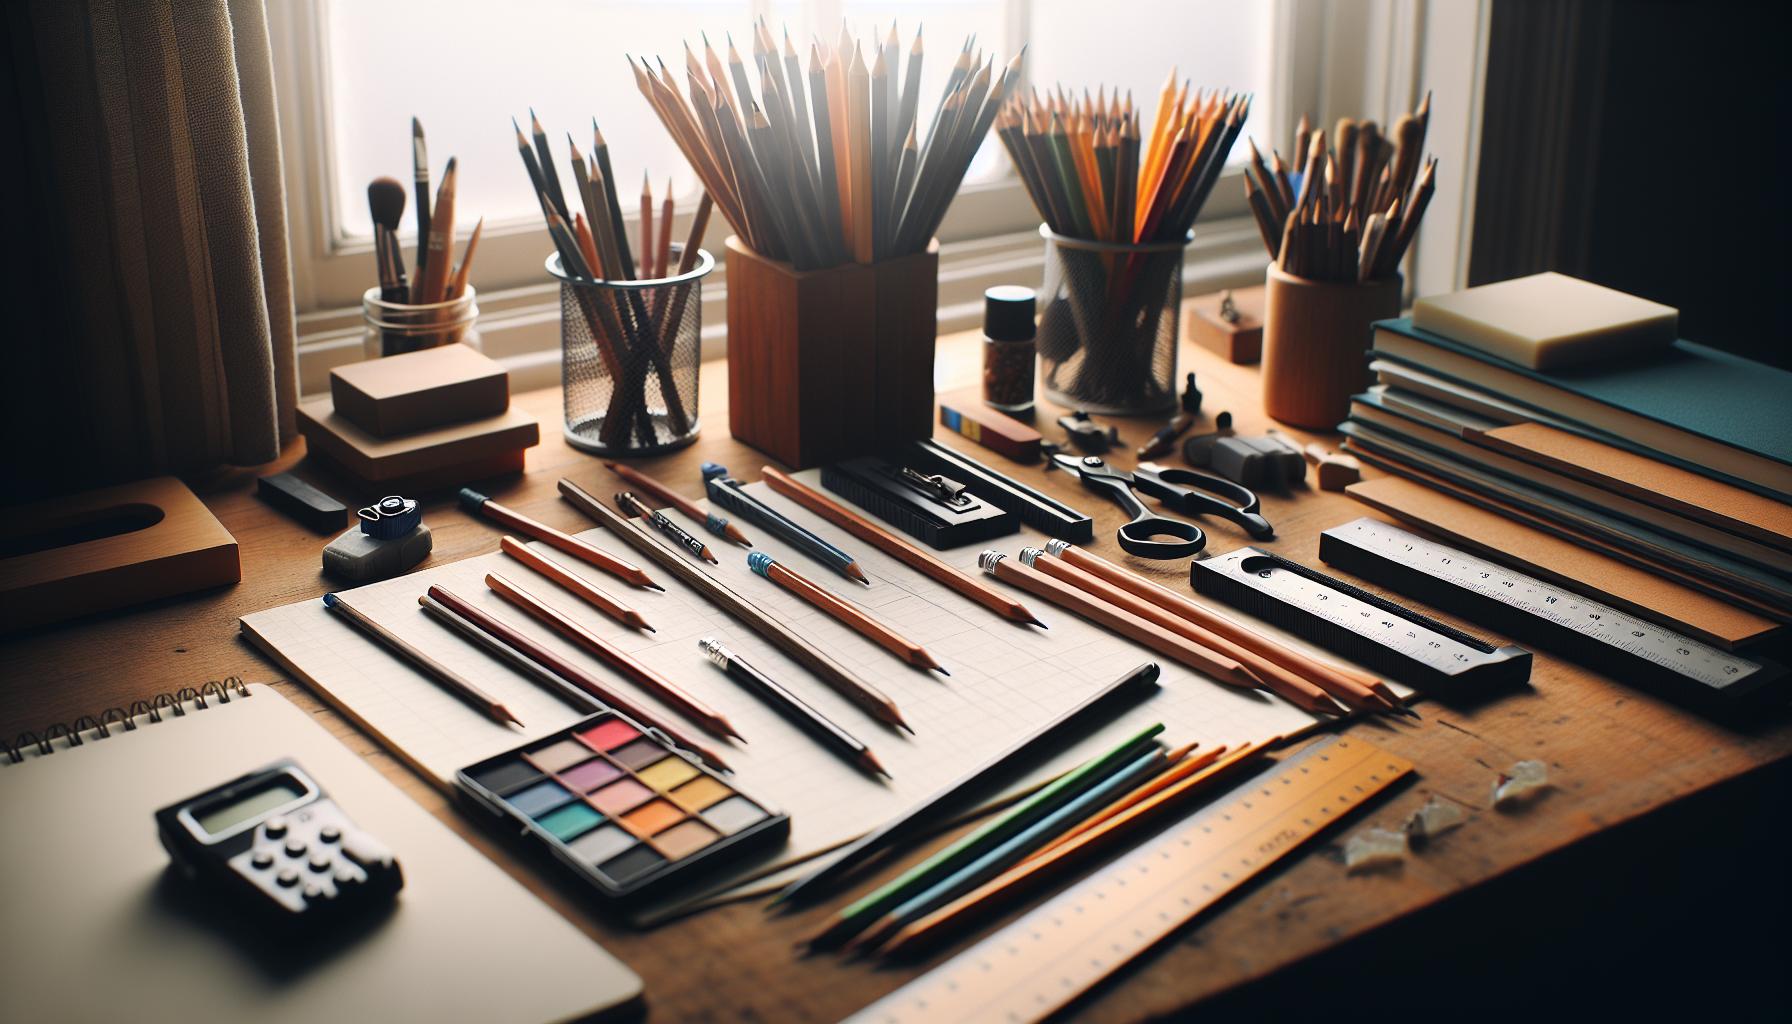
Essential Drawing Supplies for Beginners
To create stunning artwork inspired by One Punch Man, having the right drawing supplies is essential. These tools not only enhance your creative process but also significantly improve the quality of your final piece. Whether you’re just starting out or looking to refine your skills, the following supplies will help you bring Saitama and his world to life on paper.
- Pencils: A range of graphite pencils (e.g., 2H, HB, 2B) is crucial for sketches. Harder pencils (like 2H) are great for fine lines and details, while softer pencils (like 2B) are ideal for shading and adding depth.
- Erasers: A kneaded eraser is particularly useful for subtle corrections without damaging the paper. Regular erasers can work for larger mistakes but might leave residue.
- Inking Pens: Once your sketch is refined, inking pens (such as Micron or Copic multiliners) can add clean lines and detail. Varying nib sizes will help you capture the distinct outlines and expressions of One Punch Man characters.
- Paper: Choose a quality sketch or drawing paper that can handle various media. For example, a heavier paper (around 200gsm) can support mixed media if you decide to incorporate markers or watercolors later.
- Markers: Alcohol-based markers like Copics or Prismacolors are excellent for vibrant coloring. They blend well and offer a smooth finish, enhancing the dramatic look typical of manga styles.
- Drawing Tablet: For those interested in digital art, a drawing tablet (like a Wacom or Huion) is invaluable. It allows for precise drawing and the flexibility of digital coloring, making it easier to experiment with styles and effects.
Ultimately, selecting the right materials depends on your personal style and the techniques you wish to explore. Investing in quality supplies will pay off in your journey of capturing the unique flair of One Punch Man through your drawings, allowing you to focus on creativity and technique while feeling confident in your artistic endeavors.
Understanding the Style of One Punch Man
The unique style of One Punch Man is a captivating blend of humor, action, and intricately designed characters, making it a remarkable subject for artists seeking to emulate its flair. From Saitama’s distinctive, simplified features to the intense detail found in battle scenes, understanding these elements is key to capturing the essence of this popular series in your drawings.
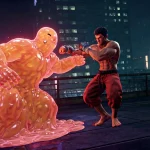
One notable aspect of the series is its mastery of contrasting styles. Characters like Saitama are designed with minimalist features-round head, blank expression, and a plain jumpsuit-which juxtaposes sharply with the hyper-detailed, almost grotesque designs of the monsters he faces. This contrast not only enhances the comedic effect but also allows for a clear focus on the action. When drawing Saitama, aim for simplicity in his features while investing time in detailing the chaotic elements around him. This can be achieved by using sharp lines and dynamic poses for the monsters, which creates movement and energy that complements Saitama’s calm demeanor.
Another characteristic is the use of exaggerated proportions and expressions, particularly during battle sequences. Characters often display intense emotions or over-the-top physical features that emphasize their strength or personality. To replicate this effect, practice using exaggerated lines and varying thickness in your strokes while defining the characters’ expressions. Consider utilizing techniques such as motion lines to convey speed and impact, enabling your audience to feel the energy of the scene.
Lastly, the use of color in One Punch Man is equally crucial in understanding its style. The palette often consists of bold colors that enhance the dramatic nature of the fights while remaining accessible and clear. When coloring your artwork, prioritize vibrant shades for the characters and backgrounds, while ensuring they work harmoniously together. This will help in maintaining the visual impact of your drawings, similar to how the original comic amplifies its message through powerful illustrations.
By focusing on these stylistic elements-contrasting simplicity with detail, exaggerating proportions for comedic and emotional effect, and employing a vibrant color palette-you can effectively bring the world of One Punch Man to life in your own artwork.
Step-by-Step Guide to Sketching the Character
To create an authentic sketch of Saitama from One Punch Man, you’ll first need to grasp the essence of his character through basic shapes before diving into details. Start with a light pencil to outline the overall proportions. Saitama’s head is round and slightly larger compared to the body, giving him a cartoonish, simplistic look. Draw a circle for the head and add a vertical line to indicate where the facial features will sit, then sketch a rectangular shape for the body, which should be broad but simple.
Basic Shapes and Structure
- Head: A large circle for the head.
- Body: A rectangular shape below the head for the torso.
- Limbs: Use simple lines for arms and legs, keeping them slightly thicker to reflect his muscular build.
After establishing the basic shapes, refine the head by adding facial features. Saitama’s eyes are understated-just two small dots for simplicity. Position them about halfway down the head, with a small curve for the mouth right beneath them, maintaining his characteristic blank expression. These features play into the humor of his character, so keep them minimalistic but aligned.
Adding Details
Next, outline the costume. Saitama wears a simple jumpsuit with a high collar and a cape. Draw the collar starting at the sides of the neck, and let it flare outwards. For the cape, sketch it flowing down gently behind him, using smooth, curved lines to suggest motion. The belt should be a straight line across the waist with a simple round buckle.
Be mindful of proportions while sketching the arms and legs. Remember that they might not be detailed, reflecting his laid-back demeanor. Add subtle hints of muscle definition-simple lines will suffice to suggest a strong physique without adding overwhelming detail. Incorporate slight bends at the elbows and knees to suggest a relaxed yet ready stance.
Final Touches and Cleanup
Once satisfied with your overall sketch, go over the lines you want to keep with a darker pencil or ink. Erase any unnecessary lines from the initial sketch phase to clean up the image. As a final touch, you might want to represent the iconic punch effect-like motion lines or a blurred fist in the foreground-to hint at his unbelievable strength.
By breaking down the process into manageable steps and focusing on Saitama’s distinctive features, you will capture the essence of this unique character effortlessly. Practice these steps multiple times to gain confidence in your sketching abilities, enhancing your artistic interpretation of One Punch Man.
Incorporating Dynamic Poses: Tips and Tricks
To truly capture the essence of action-packed scenes in your sketches of Saitama from *One Punch Man*, mastering dynamic poses is essential. Dynamic poses not only bring a character to life but also convey emotion and movement, making your art more engaging. To start, consider the concept of movement and weight distribution. For instance, when Saitama prepares to unleash a punch, his body engages differently than during a casual stand. Pay attention to the arc of his arm and the twist in his torso, which will help you recreate the power behind his actions.
Understanding Body Mechanics
Understanding how the body moves is crucial in creating realistic poses. Analyze reference images or even videos of martial arts or boxing to observe how fighters position their bodies. Key points to remember include:
- Weight Shift: Saitama often shifts his weight onto one leg when preparing for an attack. Illustrate this by bending the knee of the grounded leg and tilting the torso towards the direction of the punch.
- Line of Action: Create a line that flows through the entire pose. This helps convey movement and balance. Saitama’s poses should reflect his casual yet powerful demeanor, so establish a clear line from his head through his fingertips.
- Foreshortening: Use foreshortening to emphasize parts of his body that are closer to the viewer. For example, if Saitama is reaching forward, his arm can appear significantly larger than his torso, enhancing the dynamic look.
Adding Expression to Movement
Incorporating facial expressions while sketching dynamic poses adds an extra layer of engagement. Pay attention to:
- Eyes and Mouth: Saitama’s surprised expressions or determined looks can drastically change the impact of your sketch. Draw the eyebrows furrowed during an intense moment and his mouth slightly open if he’s letting out a battle cry.
- Body Language: The positioning of his limbs and posture communicates his mental state. A slight lean forward might suggest eagerness to engage, while relaxed shoulders can imply a laid-back attitude even in action.
To elevate your skills, take your sketches outdoors or to a studio where you can observe real-life figures in action. Practice capturing various poses quickly, aiming to express their emotions and movements without focusing too much on details. By understanding body mechanics and the significance of expression, you’ll create dynamic, action-filled art that resonates with the humor and energy of *One Punch Man*.
Adding Facial Expressions: Capturing Emotion
Capturing the essence of emotion in your drawings, especially in dynamic characters like Saitama from *One Punch Man*, can transform a static image into a narrative. Facial expressions serve as a window into a character’s feelings and reactions, making your artwork resonate with viewers. Whether Saitama is in a comically relaxed state or an intense battle, conveying emotion through his face is crucial to portraying his personality.
When drawing Saitama, focus on the key features of his expressions. His large, round eyes can express surprise, determination, or frustration, depending on the situation. In a moment of shock, consider drawing his pupils wide and his eyebrows raised. Conversely, when he is ready to fight, furrowed brows with narrowed eyes dramatically enhance the intensity. Remember to pay special attention to his mouth; a subtle curve can indicate a smirk or a frown that reflects his mood. Using these features effectively can lead to a nuanced representation of his emotions.
Understanding Body Language
Body language goes hand-in-hand with facial expressions in conveying emotion. Saitama’s posture can amplify how you’re representing his feelings. For example, if he is feeling lazy or uninterested, a relaxed stance with drooping shoulders and an off-center lean can visually communicate his mood. Conversely, in moments of anger or determination, a more upright posture with clenched fists or a forward lean can create a compelling sense of urgency and strength.
To practice, try sketching Saitama in various scenarios-whether facing an opponent or lounging on the couch. Include details such as the tilt of his head, the position of his limbs, and the tension in his hands, as these will all contribute to his overall expression. Don’t hesitate to experiment with exaggeration; sometimes, overemphasizing aspects of his face and body can help communicate emotion more effectively.
By integrating dynamic facial expressions and relevant body language into your drawings, you will improve not only the emotional impact of your pieces but also your overall artistic skills. Observing real people and their expressions can provide valuable insights, helping you to authentically depict a range of emotions in your artwork.
Creating Action Scenes with One Punch Man
Creating action scenes in your drawings of Saitama from *One Punch Man* can elevate your artwork, making it dynamic and engaging. The essence of action is not just in the movement but also in the energy and emotion that the character exudes. A powerful action scene is often a story in itself, capturing the thrill of a moment where tension meets release.
To effectively depict an action scene, begin by establishing a strong sense of motion. You can achieve this by utilizing exaggerated lines of action that follow the trajectory of Saitama’s movements. For instance, if he is about to deliver a punch, draw his arm extended with swift, curved lines to suggest speed. Additionally, incorporating elements like speed lines or motion blurs can help convey rapid movement, giving viewers a sense of Saitama’s incredible fighting prowess.
Dynamic Poses are crucial in action scenes. Experiment with different angles and perspectives. A low angle looking up at Saitama can make him appear more imposing, while a bird’s-eye view might show the chaos of a battlefield. When sketching poses, make sure to consider the weight distribution in Saitama’s stance. A grounded posture is essential when he prepares for a strike, showcasing his strength and stability. Conversely, a more fluid, loose pose can represent moments of evasive action. Practice these poses in different settings to find what works best for your scene.
Another important aspect is the background elements. The environment should complement the action, whether it’s a bustling cityscape or a quiet suburban neighborhood. Adding details like debris flying through the air or cracks in the ground from the impact of his punches enhances the sense of action. Don’t be afraid to create chaos by including secondary characters or obstacles that react to Saitama’s movements, as this can amplify the scene’s intensity.
Finally, pay attention to the color palette and lighting. Bright, bold colors can reflect the vibrant energy of the scene, whereas darker hues may set a more foreboding tone. Use shadows to emphasize movement, particularly on muscles during impactful poses. By integrating these techniques, you’ll not only bring Saitama’s character to life in your artwork but also create compelling narratives that hook your audience and illustrate the true spirit of *One Punch Man*.
Coloring Techniques for One Punch Man Artwork
To truly capture the essence of *One Punch Man* in your artwork, mastering the use of color is crucial. The vibrant palette often associated with the series not only enhances the visuals but also adds depth and emotion to the scenes you create. A well-executed coloring technique can elevate your drawings from simple sketches to dynamic illustrations that resonate with the viewer.
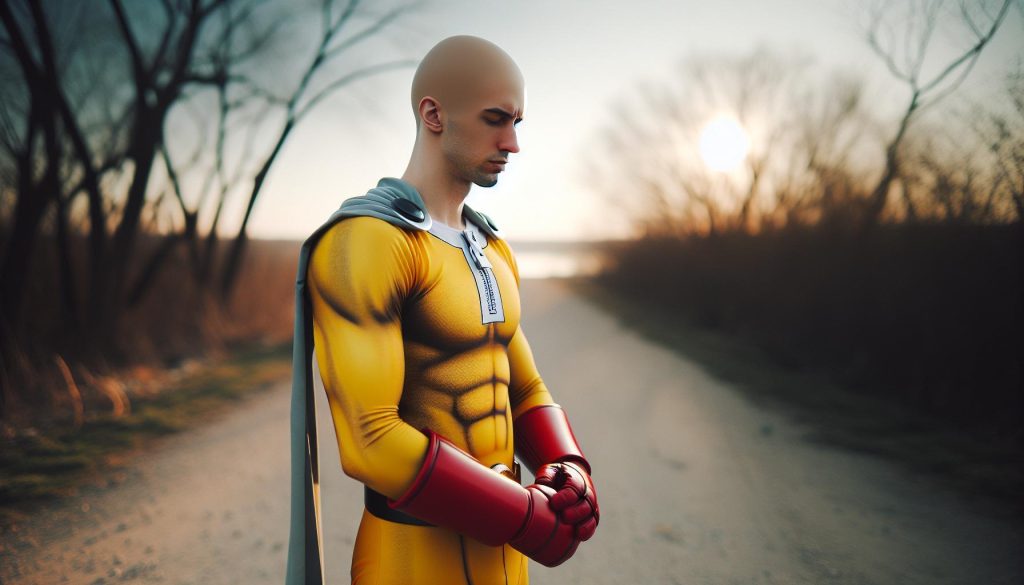
Begin by selecting a color palette that reflects the character’s mood and the scene’s atmosphere. For Saitama, simple yet bold colors work best-his signature yellow jumpsuit and bald head convey both simplicity and strength. Utilize flat colors for the base layers of your artwork, ensuring that each hue aligns with the overall tone of the piece. Consider the following tips for effective color application:
- Layering: Build depth by using multiple layers of color. Start with a base color, then add lighter and darker shades to sculpt the character and create a three-dimensional feel.
- Shading: Employ shadows to emphasize muscle tone and movement. Use a darker shade of your base color and consider the light source to determine where shadows should fall.
- Highlighting: Highlights can bring your artwork to life. Use a lighter shade or even a white accent to suggest light reflecting off surfaces, enhancing the clean lines of your characters.
- Blending: Techniques such as feathering or gradient blending can smooth transitions between colors, ideal for depicting skin tones or the fluidity of Saitama’s cape during action scenes.
Pay close attention to the emotional impact of color as well; warm tones can evoke energy and excitement, while cool tones can suggest calmness or unease. Use emotion-driven colors to complement the narrative you wish to express-bright reds and oranges can amplify the intensity of a fight scene, while softer blues can evoke contemplation in quieter moments.
Additionally, don’t forget about background colors. The environment plays a vital role in setting the mood. For action scenes, dynamic colors in the background can enhance the movement of your characters, guiding the viewer’s eye while also contributing to the overall composition. Select colors that contrast well with Saitama to ensure he stands out as the focal point.
By integrating these coloring techniques, you’ll not only enhance the visual appeal of your *One Punch Man* illustrations but also create a more immersive experience for your audience, capturing the unique energy and spirit of the series.
Enhancing Your Drawing with Background Elements
Incorporating background elements into your drawings can significantly elevate the overall impact of your artwork, particularly when illustrating a dynamic character like Saitama from *One Punch Man*. Backgrounds are more than just scenery; they provide context and enhance storytelling by setting the mood and adding depth to action scenes. A well-conceived background can draw the viewer’s attention and make your character feel more integrated into their environment.
Begin by considering the scene’s context. Is Saitama battling a formidable foe in a bustling city, or is he in a tranquil park? The atmosphere you wish to convey should dictate the background details. For instance, if your scene is of an intense battle, a chaotic urban backdrop with falling debris and crumbling buildings can add urgency and drama. Conversely, a serene park scene can juxtapose Saitama’s power with tranquility, highlighting his contrasting nature.
Elements to Consider in Backgrounds
- Scale and Perspective: Make sure to maintain proper scale in your background elements. Use perspective techniques, such as vanishing points, to create a three-dimensional feel. This will help your character feel anchored to the scene.
- Layering Elements: Create depth by layering your background. Use foreground, mid-ground, and background elements. This can give the artwork a more immersive quality and emphasize the action occurring in the foreground with Saitama.
- Color Harmony: Use a color palette that complements your character. Saitama’s colors are simple but striking-make sure the background does not overshadow him. Harmonious or contrasting colors can differentiate your character and background while remaining visually cohesive.
- Dynamic Action Elements: Incorporate motion lines or dynamic backgrounds that suggest movement, especially in action scenes. This can enhance the perceived speed and intensity of the fight, making your artwork feel alive.
To connect viewers emotionally, consider how the background reflects the character’s state of mind. Dark, stormy skies can evoke feelings of tension and danger, while bright, sunny backgrounds can create a sense of hope or tranquility. Use backgrounds not just as backdrops but as an integral part of the narrative, enriching the story your artwork intends to tell. With thoughtful background elements, your illustrations of Saitama will not only stand out but also resonate more deeply with your audience, making the characters and scenes feel alive and compelling.
Common Mistakes to Avoid When Drawing
When diving into drawing Saitama from One Punch Man, it’s essential to navigate the common pitfalls that can hinder your progress. Many aspiring artists rush through initial sketches, leading to structural issues that are hard to fix later. Always start with a solid foundation-establish the basic shapes and anatomy before adding details. This approach allows you to adjust proportions and poses effectively, ensuring your final drawing looks polished.
Another frequent mistake is neglecting to study the character’s unique features and style. Saitama’s design is deceptively simple, yet his facial expressions and body language convey a wealth of personality. Take the time to reference official artwork and scenes from the manga or anime. Pay attention to how his expressions change during different scenarios and practice capturing these subtle nuances in your drawings.
Moreover, color application can often trip up artists, especially when it comes to Saitama’s palette. While his colors are straightforward-predominantly yellow and red-using too many contrasting colors can distract from his iconic look. Stick to a limited palette and focus on shading and highlights to create depth without overwhelming your character’s design. Utilize layers and blending techniques to add realism to your colors, making your artwork stand out.
Finally, avoid the habit of skipping the background. While Saitama’s simplicity draws attention, the background contextualizes his actions and enhances the storytelling aspect of your artwork. Whether he’s in a bustling city or a desolate landscape, adding background elements not only establishes mood but also provides a solid foundation for your character. By being mindful of these common mistakes and actively working to correct them, you’ll enhance both your skills and your enjoyment of drawing One Punch Man.
Tips for Perfecting Your One Punch Man Style
To truly capture the essence of Saitama from *One Punch Man*, you must embrace his unique blend of simplicity and depth. This character, famous for his immense power and unassuming appearance, requires artists to balance bold outlines with subtle details to convey his personality effectively. Begin your journey by closely observing how his design reflects his character-a hero who seems uninterested in the traditional aspects of heroism yet embodies strength and resilience.
Focus on Proportions
Saitama’s proportions are critical to his portrayal. Unlike most superheroes who are typically muscular and exaggerated, Saitama’s appearance is deceptively simple, often leading to common misinterpretations. Pay careful attention to his head size relative to his body; it is slightly larger than one might expect, which adds to his comedic appeal. Moreover, his physique is lean rather than overly bulky, enhancing the contrast between his mundane appearance and incredible abilities.
- Use Basic Shapes: Start with simple geometric forms to outline his body before adding detail.
- Capture Expressions: Saitama’s expressions often reflect his boredom or detachment, so focus on subtle variations.
Mastering Dynamic Poses
While Saitama’s character may seem static, dynamic poses can amplify the impact of your artwork. Consider how he typically stands or moves-often with a relaxed demeanor that contrasts with the action around him. To perfect these poses, practice sketching him in different positions, focusing on how he occupies space. Using reference images from both the manga and anime can be invaluable; notice how he interacts with his environment during battles or mundane activities, as this adds realism to your illustrations.
Incorporating Color Wisely
Saitama’s color palette is another essential aspect of capturing his style. Employ a limited palette dominated by soft yellows and reds, emphasizing simplicity while allowing for subtle shading. This approach not only maintains the integrity of his character design but also helps in achieving depth. Experiment with digital or traditional techniques that enhance your colors without overwhelming the viewer. Building up layers and refining highlights can bring life to your artwork, making Saitama pop out even against the most minimal backgrounds.
By honing in on these critical elements-proportions, poses, and color-you’ll not only refine your drawing of Saitama but also deepen your understanding of the artistic decisions that define his character. Engaging with these tips will lead you to a more authentic representation of *One Punch Man*, resonating with both long-time fans and new viewers alike.
Resources for Further Learning and Inspiration
To elevate your drawing skills and find inspiration while capturing the essence of One Punch Man, there are numerous resources available that cater specifically to artists. Engaging with a mix of books, online courses, and community platforms will enhance your understanding of character design, style, and technique.
One highly recommended resource is “The Art of Drawing Manga” by David G. Williams, which covers fundamental techniques applicable to characters like Saitama. This book guides you through proportions, facial expressions, and dynamic poses, all crucial elements in depicting characters from the series. Online platforms such as Skillshare and Udemy also offer courses dedicated to anime and manga drawing, featuring instructors who specialize in styles similar to that of One Punch Man. These courses often include step-by-step tutorials, allowing you to follow along and develop your unique style.
Moreover, engaging with community platforms like DeviantArt and ArtStation can be incredibly helpful. These sites allow you to share your work, receive feedback, and draw inspiration from other artists’ renditions of Saitama and other characters. You can also find critiques and resources shared within artist groups on Facebook and Reddit. Participating in online forums dedicated to One Punch Man can provide you with insights on character nuances and artistic approaches that resonate with fans of the series.
Additionally, platforms like YouTube offer a plethora of tutorials where experienced artists break down their techniques in drawing characters from One Punch Man. Channels dedicated to anime art can demonstrate tips for capturing the style and emotion specific to the series, along with tricks for coloring and background design. Watching these creators work not only reinforces artistic techniques but can ignite your creative process as you see various methods brought to life in real-time.
By leveraging these varied resources, not only will you strengthen your drawing skills, but you’ll also connect with a community of like-minded artists who share your passion for One Punch Man.
Q&A
Q: What are the best techniques for drawing dynamic poses of One Punch Man?
A: To draw dynamic poses of One Punch Man, focus on gesture drawing to capture movement and energy. Utilize references for action poses and study body mechanics. Experiment with foreshortening to create depth and drama. This enhances the character’s action scenes, making them more engaging. For more tips, refer to the section on Incorporating Dynamic Poses.
Q: How can I improve my coloring skills for One Punch Man artwork?
A: Improving your coloring skills for One Punch Man artwork involves understanding color theory and practicing with various mediums like markers, digital tools, or watercolors. Start with a solid base layer, then add shading and highlights to create depth. Consider using a limited color palette for a cohesive look, as detailed in the Coloring Techniques section.
Q: Are there specific facial expression techniques for capturing One Punch Man’s emotions?
A: Yes, to capture One Punch Man’s emotions, focus on exaggerating eye shapes and mouth positions. Use simple lines to imply intensity or humor, reflecting the character’s personality. Practicing different expressions from references can quickly enhance your skills, as discussed in the Adding Facial Expressions section.
Q: What are some common mistakes to avoid when drawing One Punch Man?
A: Common mistakes include neglecting proportions and details unique to the character, such as his distinctively simple expressions and muscular build. Failing to capture the unique art style can also detract from the final piece. For strategies to overcome these issues, refer to the section on Common Mistakes to Avoid.
Q: How do I gather effective reference images for drawing One Punch Man?
A: Gather effective reference images by searching official artwork and fan art online. Focus on high-resolution images that show different poses and expressions. Use platforms like Pinterest or DeviantArt to find diverse examples. This is elaborated upon in the How to Gather Reference Images section of the article.
Q: What tools are recommended for beginners drawing One Punch Man?
A: Beginners should start with essential tools such as graphite pencils, erasers, and sketchbooks. Digital artists might prefer tablets and drawing software. Quality markers and colored pencils can enhance your artwork as you advance. For more detailed recommendations, check the Essential Drawing Supplies for Beginners section.
Q: How can I create background elements that complement One Punch Man scenes?
A: To create effective background elements, focus on simplicity so as not to distract from the character. Use perspective techniques to give depth, and incorporate elements that reflect the action, like cityscapes or atmospheric effects. More tips are available in the Enhancing Your Drawing with Background Elements section.
Q: Why is it important to understand the style of One Punch Man before drawing?
A: Understanding the style of One Punch Man is crucial as it defines the iconic look and aesthetic appeal of the character. Recognizing how features like his head shape, body proportions, and minimalistic design contribute to his identity will improve your drawings. This concept is further explored in the Understanding the Style of One Punch Man section.
Wrapping Up
Now that you’ve learned how to draw One Punch Man step-by-step, it’s time to put your skills to the test! Don’t just stop here-share your creations with us in the comments below, and connect with other aspiring artists. If you enjoyed this guide, check out our resources on character design and digital art techniques to enhance your artistry further.
Feeling inspired? Download our free drawing toolkit that includes templates and tips to transform your creations into masterpieces. Remember, practice makes perfect, so keep experimenting! For more engaging tutorials, subscribe to our newsletter and never miss an update on the latest art guides. You’ve got the power to create, so unleash your imagination and keep your artistic journey going strong!