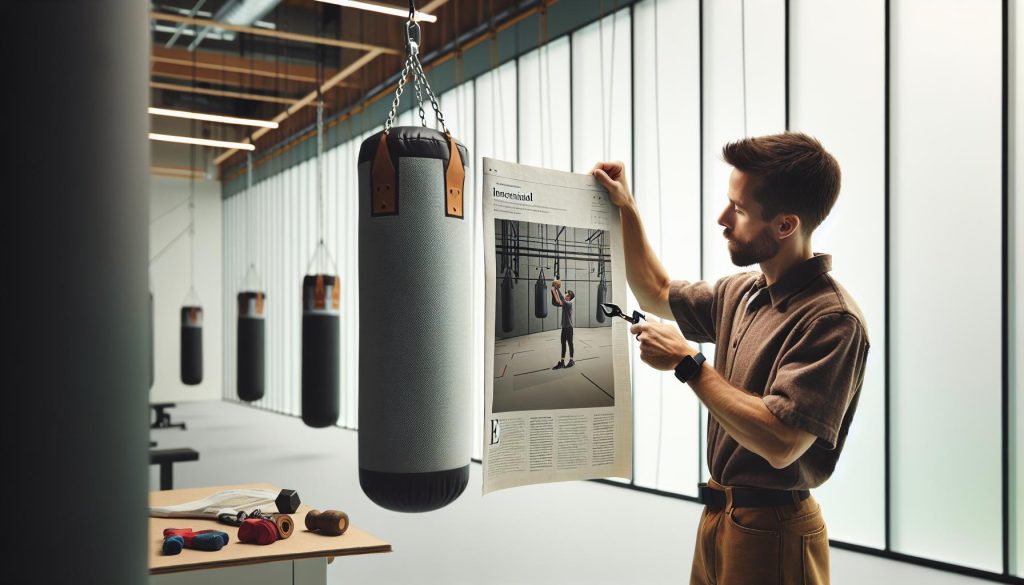
Installing a punching bag at home can transform your training routine, providing a valuable outlet for stress and an excellent way to hone your striking skills. Yet, many people hesitate due to concerns about proper installation and safety. With the right guidance, however, you can set it up efficiently and securely, ensuring it withstands the rigors of your workouts. In this article, we’ll walk you through the essential steps of hanging your punching bag, highlighting safety tips and techniques that cater to both novice and experienced users. By properly installing your bag, you’ll not only enhance your training experience but also create a safe environment that allows you to focus on building strength, speed, and technique. Keep reading to discover how to make this process easy and effective, setting the stage for a stronger, more confident you.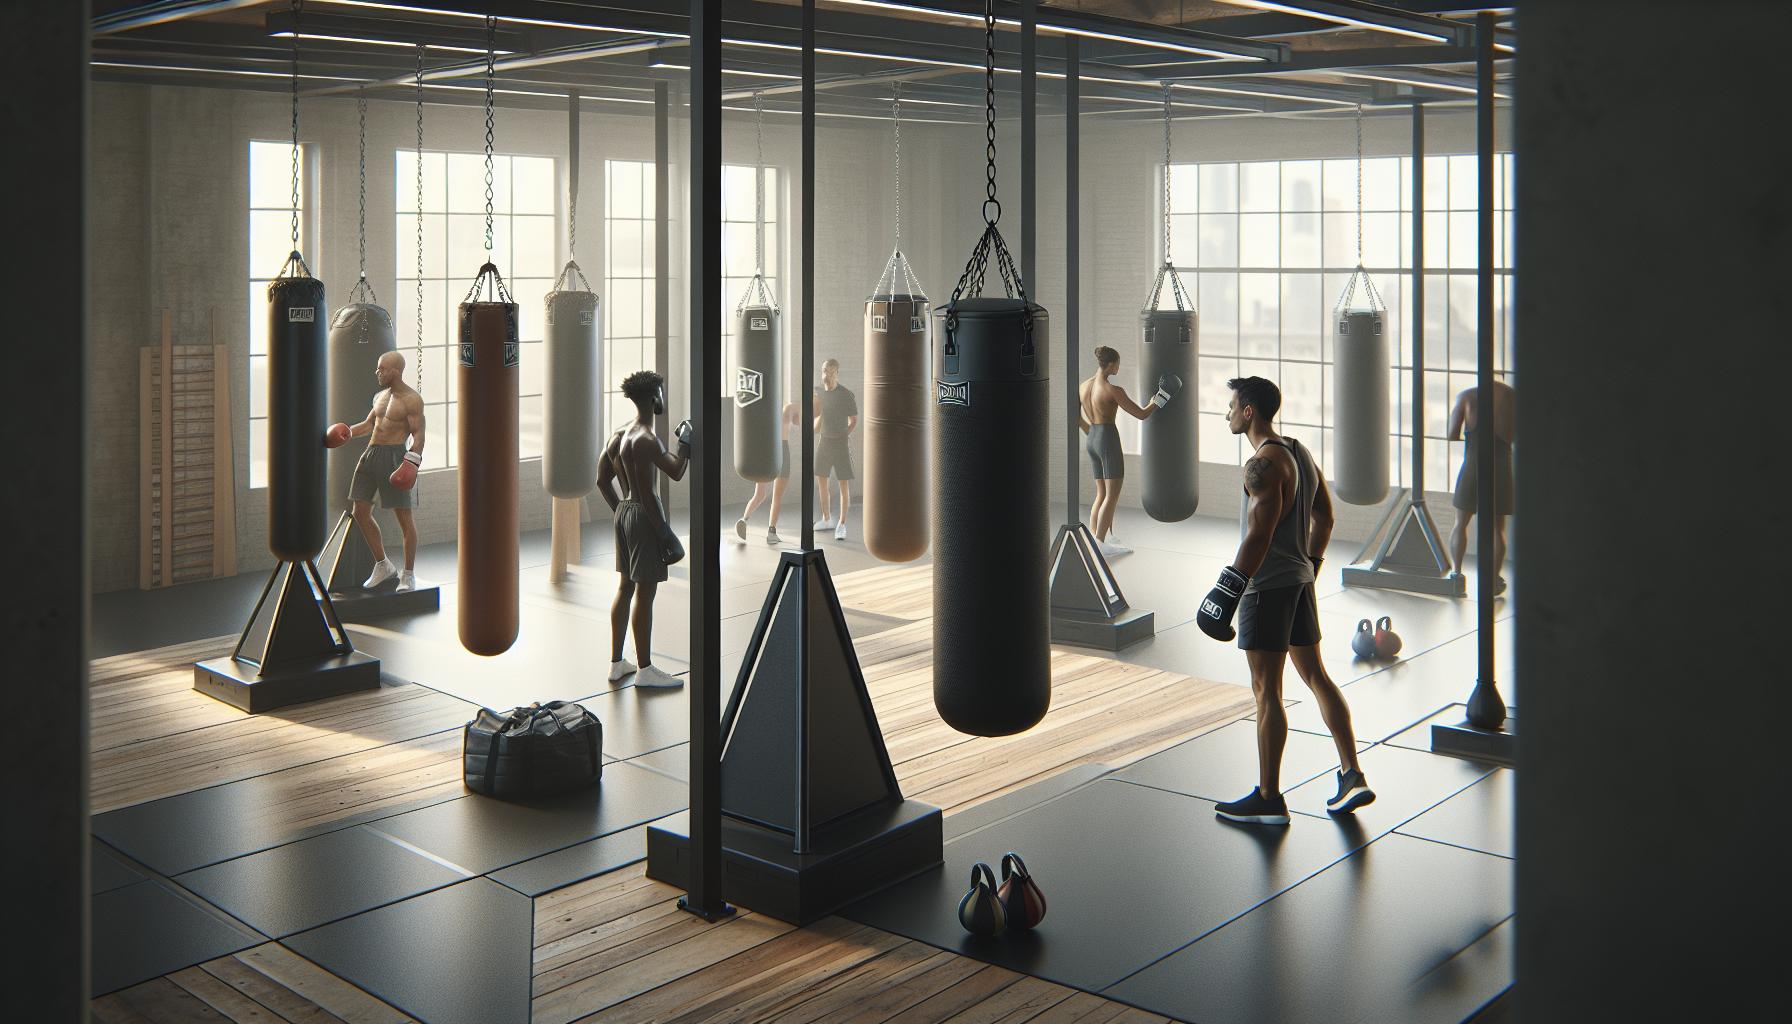
Choosing the Right Type of Punching Bag for Your Needs
Choosing the right punching bag is crucial for maximizing your training effectiveness while minimizing injury risk. Whether you’re a seasoned fighter or a beginner looking to improve your skills, understanding the various types of punching bags available can help ensure you select one that meets your specific needs. Factors to consider include weight, material, and type of training you plan to engage in.
When selecting a punching bag, familiarize yourself with the different types available:
- Heavy Bags: Ideal for developing power and technique, heavy bags can weigh anywhere from 70 to 150 pounds. Opt for a bag that’s about half your body weight for optimal training.
- Speed Bags: Designed to improve hand-eye coordination and speed, these lightweight bags are generally used for quick punches and reflex training.
- MMA Bags: Versatile in nature, MMA bags allow for striking as well as grappling. They typically have a softer exterior, which is beneficial for practitioners transitioning between striking and ground techniques.
- Uppercut Bags: Specifically designed to focus on uppercuts, these bags typically hang at an angle and can help improve your uppercut technique and power.
- Wall Mounted Bags: For those with limited space, these bags offer a great option. They provide a stable surface for punching but limit movement training.
The material of the punching bag is also significant. Leather bags are durable and provide a more traditional feel, while synthetic materials can be more affordable. If you’re training at home, consider how noise might affect your neighbors; opting for a bag with added padding can help lessen the impact noise.
Ultimately, choosing the right punching bag is about aligning your personal goals with the training style you want to develop. By considering the type of training you want to achieve-whether that’s improving your striking technique, enhancing speed, or building power-you can make an informed decision that enhances your skill set.
Essential Tools and Materials for Installation
To successfully install a punching bag and ensure it stands the test of time, having the right tools and materials is crucial. The installation process can be straightforward, but being well-prepared will help streamline the effort and improve your safety while training.
Begin by gathering essential tools:
- Drill: A good power drill with the appropriate drill bits is necessary for creating holes in the wall or ceiling.
- Screwdriver: Depending on your mounting hardware, a screwdriver may be needed for tightens screws after installation.
- Stud Finder: This tool will help you locate the wooden beams in your wall where the punching bag can be securely anchored.
- Level: Ensuring your punching bag hangs straight will help with your training and prolong the bag’s life.
- Tape Measure: Precise measurements will allow you to position your punching bag at a comfortable height and location for training.
- Safety Gear: Safety goggles and gloves are recommended to protect yourself from debris or accidents during installation.
Materials will also play a significant role in the stability and security of your punching bag. Common installation materials include:
- Heavy-duty wall anchors or screws: These are essential for securely fastening the mounting bracket to the wall or ceiling.
- Mounting bracket: A sturdy, high-quality mounting bracket designed for supporting the weight of your punching bag is vital.
- Chains or straps: These are often necessary to suspend the bag and should be durable enough to handle the bag’s weight and your forceful strikes.
- Backing plate: If you’re mounting a heavy bag on drywall, using a backing plate can distribute the weight more evenly and prevent the bag from pulling away from the wall.
Before beginning the installation, familiarize yourself with local safety codes and the structural integrity of your ceiling or wall. This awareness not only helps in ensuring a secure setup but also reinforces the importance of safety in your training routine. Taking these preparatory steps will set the foundation for a successful punching bag installation that supports effective training and minimizes risks.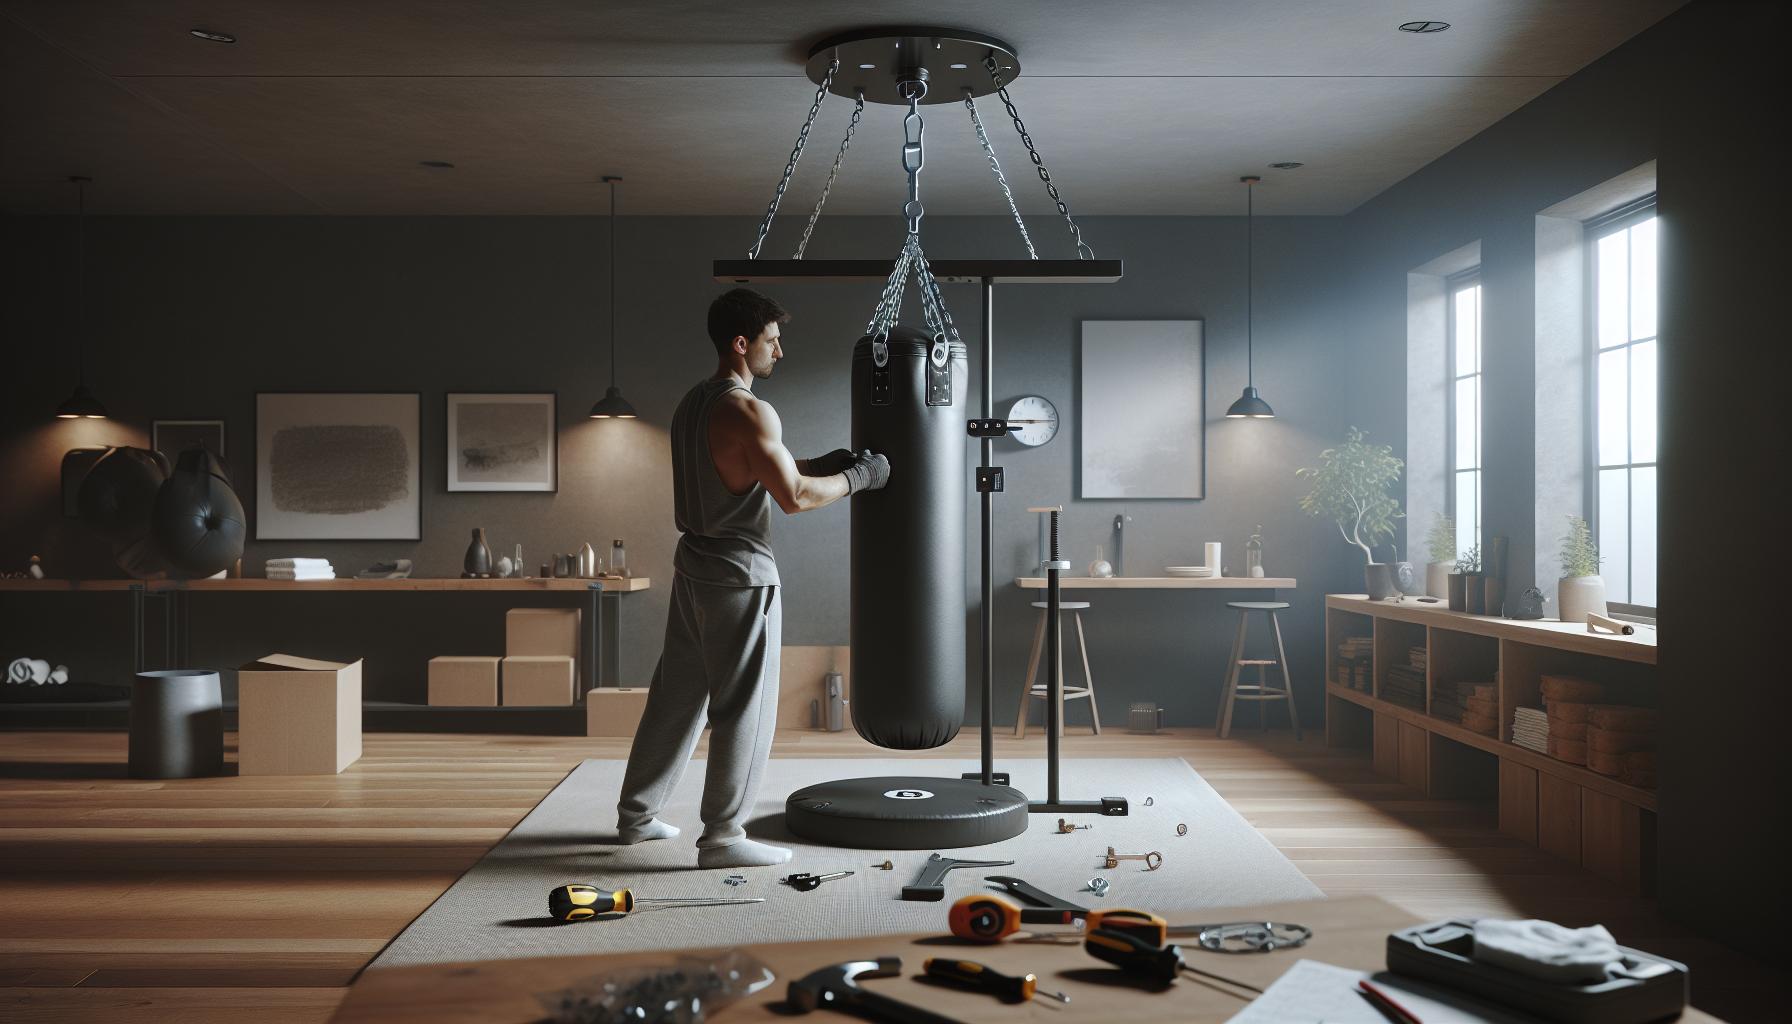
Step-by-Step Guide to Secure Your Punching Bag
To effectively secure your punching bag for optimal training experience, follow these straightforward steps that ensure safety, stability, and accessibility. Proper installation not only enhances your performance but also prevents potential injuries that can arise from a poorly mounted bag.
Begin by identifying the most suitable location for your punching bag. It should be an area with ample space around it, ideally away from furniture or walls to avoid damage. Use a stud finder to locate the wooden beams within the wall or ceiling, as these provide the best support for heavy bags. Ensure the area is well-lit and has sufficient space to move freely while striking.
Once you’ve chosen the location, mark the spot where your mounting bracket will be installed. Use a level to confirm that your mark is even, which will help the bag hang straight. Next, drill holes into the marked locations, using a drill bit compatible with the size of your wall anchors or screws. Insert heavy-duty wall anchors to provide additional support for your bag.
Now, it’s time to secure the mounting bracket. Align it with the installed wall anchors, and tighten the screws with a screwdriver. Ensure it’s firmly attached, as this will bear the weight of the bag during intense training sessions. If possible, use a backing plate to further distribute weight and enhance security, especially when mounting on drywall.
After securing the bracket, attach the chains or straps to the bag. Make sure these are also securely connected to the mounting bracket. Adjust the height of the bag to a comfortable striking position, generally aligned with your fists when you stand naturally. Finally, give the bag a test hit to ensure it hangs properly and is stable, ready for you to train safely and effectively.
Safety Tips for Installing Your Punching Bag
To ensure a safe and effective installation of your punching bag, it’s essential to prioritize safety at every step. A securely mounted punching bag not only enhances your training experience but also helps prevent injuries that can occur from unforeseen accidents. Here are some vital safety tips to keep in mind during the installation process.
First and foremost, choose the right hardware for your specific bag’s weight and type. Heavy bags require heavy-duty mounts, wall anchors, and screws that can withstand the force of your strikes. Always opt for commercial-grade anchor systems designed for high-impact applications to ensure stability. Additionally, consider using a backing plate to disperse the weight across a larger area of the wall or ceiling, particularly if mounting on drywall or other less sturdy materials.
In addition to utilizing appropriate materials, double-check the stability of your mounting location before you begin. Use a level to ensure that everything is aligned correctly, preventing the bag from swaying excessively during use. Once the bag is mounted, conduct a thorough inspection. Test the installation by lightly hitting the bag to check for any movement. If it shifts significantly, reassess the mounting or consider adding additional support to secure it better.
Finally, it’s crucial to maintain awareness of your surroundings during installation and training. Ensure that the area around the bag is clear of obstructions, and that there’s sufficient space to avoid injury from accidental contact with walls or furniture. By prioritizing these safety measures, you not only safeguard yourself and others in your training environment, but you also set the stage for an effective and focused workout session.
Best Locations for Hanging Your Punching Bag
Selecting the right location to hang your punching bag can significantly enhance your workout experience while ensuring safety. A common mistake is underestimating the space required for a punching bag. An ideal location should provide enough room for the bag to swing freely without obstruction, allowing for a full range of movement as you practice different techniques.
Consider installing your bag in a dedicated workout area, such as a garage, basement, or spare room. These spaces often offer the privacy and freedom to train without disturbing others. Ensure that the ceiling height is sufficient-typically, you want at least 7 to 8 feet of clearance above the bag to accommodate various punch styles without hitting the ceiling. Additionally, the bag should be at a height where it is easily accessible but not obstructed, allowing you to strike it comfortably at different angles.
Another important factor is the floor surface. Ideally, the bag should be mounted in an area with a solid, non-slip floor, like concrete or rubber matting, which can absorb impact and reduce noise during your workout. This not only protects your flooring but also offers stability during your training sessions. Avoid hanging the bag in areas with delicate flooring, as the force from your strikes could cause damage.
Lastly, think about ambient factors such as lighting and ventilation. Good lighting ensures you can see your technique clearly and maintain focus during practice. Ventilation is also crucial, especially in smaller or enclosed spaces, to prevent overheating and ensure you remain comfortable while training. By thoughtfully selecting the best location to hang your punching bag, you can create a safe, effective, and enjoyable training environment.
Common Mistakes to Avoid During Installation
One of the most critical phases of installing a punching bag is avoiding common pitfalls that can lead to safety issues or hinder your training experience. Many people overlook essential details that can impact the effectiveness and durability of your setup. To ensure a successful installation, consider these frequent mistakes and how to sidestep them.
The first misstep is failing to choose the appropriate mounting hardware. A punching bag can weigh anywhere from 50 to 150 pounds or more, depending on its type and size. Always use heavy-duty anchors and hooks designed to support significant weight. Not utilizing the right materials can lead to structural failure, potentially causing the bag to fall and injure you or damage your surroundings.
Another common mistake is not assessing the ceiling’s condition beforehand. Ensure that the area where you plan to hang the bag can adequately support the weight and motion. Look for signs of wear or weakness in the ceiling joists. It’s crucial to locate the joists instead of installing the bag directly into drywall, which won’t provide adequate support.
Improper height placement can also undermine your training. If the bag is hung too high or too low, it might force you to strike awkward angles, which can lead to poor technique or even injury. Aim to set the bag at a height that allows you to land punches and kicks comfortably, typically around your shoulder level.
Lastly, overlook environmental factors at your installation site. For example, inadequate clearance space around the bag can limit your striking range and lead to unintentional collisions with walls or furniture. Aim for a minimum of three feet of space on all sides to maximize your training area and keep your practice safe.
By steering clear of these common installation errors, you set yourself up for a more effective and enjoyable training experience while significantly enhancing overall safety.
Adjusting Your Punching Bag for Optimal Use
To maximize the effectiveness of your punching bag, proper adjustment is essential. A well-adjusted bag enhances your training experience by allowing you to practice various techniques with optimal efficiency. Start by ensuring that the bag is hung at a height that suits your striking style and body size; for most people, this means having the bag positioned so that the center is roughly at shoulder height when standing.
For those training in specific styles like boxing or kickboxing, fine-tuning the bag’s height may vary depending on the type of punches or kicks you intend to practice. If you frequently execute low kicks, ensuring part of the bag can be struck at knee height is beneficial. Conversely, if you primarily focus on jabs and crosses, a higher setting helps you practice without developing bad habits associated with improper angles. Test the height by throwing a few strikes after adjusting to ensure comfort and effectiveness, maintaining proper form throughout.
When adjusting the bag, consider its fill level and weight. A lighter bag might swing excessively and not provide the resistance needed for power training, while an overly heavy bag could lead to injury. To achieve optimal stability, fill your heavy bag with a mix of materials like sand, cloth, or rice, balancing weight for dynamic movement without compromising safety. Be sure to leave some room for the filling to settle; this will help the bag absorb force better, allowing you to practice harder strikes without the risk of causing damage to either the bag or your joints.
Finally, keep maintenance in mind. Regularly check the bag for any signs of wear or tear, ensuring it remains adjusted correctly. Rotating the bag periodically can also help distribute wear evenly. Incorporating these adjustments not only enhances your training but also prolongs the bag’s lifespan, ensuring you get the most out of your workouts while maintaining safety and effectiveness in your techniques.
Maintenance Tips to Keep Your Punching Bag in Shape
To keep your punching bag in prime condition, regular maintenance is crucial. Just like any piece of equipment, a punching bag benefits from care and attention, ensuring it performs optimally and lasts longer. Routine inspections help spot issues such as fraying seams, loose fittings, or signs of wear. As you use the bag, make a habit of examining it after every few training sessions. This vigilance can prevent a small problem from becoming a larger and potentially dangerous one.
Regularly clean your punching bag to remove dust, sweat, and odors. Use a mild detergent mixed with water and a soft cloth for this task. Wipe down the exterior, focusing on the seams and any areas that see a lot of impact. If your bag is made of leather, consider using a specialized leather conditioner to maintain its suppleness and prevent cracking. Additionally, inspect the hanging hardware to ensure it is secure and free of rust-a crucial step for safety during use.
Also, consider the environment in which your bag is located. If possible, keep it away from extreme temperatures and direct sunlight, as these conditions can degrade the material over time. A dedicated space for your bag, ideally in a temperature-controlled area, can significantly extend its life.
Finally, when it comes to maintaining its structural integrity and functionality, rotate the bag periodically. This helps distribute wear evenly, preventing certain spots from becoming overly stressed. By incorporating these simple yet effective habits into your routine, you’ll maximize your punching bag’s lifespan and enhance your training experience.
Creative Training Techniques with Your Punching Bag
Using a punching bag effectively in your training routine can significantly enhance your skills, strength, and stamina. Here are some creative training techniques to maximize your workouts and keep your sessions engaging:
Incorporate Shadowboxing
Shadowboxing in front of your punching bag combines technique perfection with footwork drills. Start by performing a shadowboxing routine, focusing on technique, speed, and movement. Then introduce the bag into the session to simulate a realistic target. This method allows you to practice punches and combinations while working on your footwork and distance control, ensuring a comprehensive workout.
Interval Training
Increase your cardio and strength simultaneously by using your punching bag for interval training. Set a timer for rounds, alternating between 30 seconds of intense punching and 15 seconds of rest. You can mix up the punches by focusing on hooks, jabs, and uppercuts during the active intervals. This high-intensity workout will help improve your endurance and striking power while keeping you motivated.
Combo Drills
Set specific punch combinations to practice on the bag. For instance, use a 1-2 combination (jab-cross) followed by a slip to move out of the way, then finish with an uppercut. These drills not only enhance your technique but also develop your muscle memory. Performing these combinations repeatedly helps create fluidity in your movements, important for real-life self-defense scenarios.
Incorporate Defense Techniques
In addition to striking, use the bag to practice defensive maneuvers. For example, after throwing a series of punches, practice slipping away from the bag as if evading an opponent’s counterattack. This type of training reinforces the fundamental skill of combining offense with defense, making your training holistic and practical.
Using these techniques can transform your punching bag from a simple training tool into a multifaceted device that addresses various aspects of your fighting style. Remember, safety and proper technique are paramount. Always ensure that your setup is secure to prevent injuries, and never push beyond your physical limits. These structured, focused approaches to your training will not only improve your striking ability but also enhance your overall fitness and readiness, empowering you in self-defense situations.
How to Properly Fill a Heavy Bag for Stability
Filling a heavy bag correctly is crucial for creating a stable training tool that can withstand the intensity of your punches without swinging excessively or toppling over. An optimally filled bag not only provides the right amount of resistance but also mimics the dynamics of a real opponent, enhancing your training experience. Understanding the various filling options and proper techniques will ensure you get the most out of every session.
When considering filling materials, you have several options. The most common choices include sand, water, or a mixture of both. Sand offers dense weight, providing good resistance for powerful strikes, but can be difficult to handle and may lead to a hard surface if packed too tightly. Water is easier to fill, and though it makes the bag more flexible, it may not give the same kind of feedback as heavier materials. For versatility, many choose to mix sand at the bottom for weight and water above it to allow for some give, creating a balance that simulates a real opponent more effectively.
To ensure stability, follow these steps:
- Preparation: Before you begin, make sure your heavy bag is clean and empty. Check the manufacturer’s recommendations for the amount of filler material to use.
- Filling Technique: If using sand, pour it into the bag slowly to prevent clumping. For water, use a funnel for easier filling and fill it incrementally to avoid overfilling, which could cause leaks. It’s advisable to fill only halfway with water, as this helps maintain a stable balance with the heavier sand at the base.
- Securing the Bag: Once filled, securely tie or close the bag according to the manufacturer’s instructions to prevent leaks or spills during use.
- Testing Stability: After filling and securing, test the bag by giving it a few light punches. If it sways excessively, consider adjusting your fill levels. Balancing the bag is essential for effective training; an unstable bag can lead to injury or ineffective practice.
By following these guidelines, you can ensure that your punching bag is filled correctly for stability, enhancing your training sessions and allowing you to focus on improving your technique without interruption. Remember, the goal is to create a training environment that replicates real-life scenarios safely and effectively.
Understanding Weight Considerations for Your Punching Bag
When choosing a punching bag, weight is a crucial factor that significantly impacts your training experience. The weight of your bag determines how it behaves when struck-whether it absorbs the force effectively, simulates a real opponent, or sways excessively, which can lead to ineffective training and potential injury. Understanding how to match the punching bag’s weight with your individual strength, skill level, and intended use will enhance your performance and safety during workouts.
Typically, heavy bags weigh between 40 and 150 pounds. As a general guideline, your bag’s weight should be roughly half your body weight. For example, if you weigh 180 pounds, a bag between 80 to 90 pounds would provide adequate resistance without being overwhelming. However, this ratio can vary based on your experience-inexperienced practitioners may benefit from lighter bags (around 40-60 pounds) that allow for easier maneuverability and allow beginners to work on technique without excessive strain.
When selecting the right weight, consider your training goals. If you aim to develop power and strength, a heavier bag may be suitable, as it will absorb the impact and provide resistance, leading to more explosive punches. Conversely, if your focus is on speed and technique, a lighter bag will allow quicker movements and a more dynamic workout.
A well-chosen bag weight not only helps you maintain form but also minimizes the risk of injury. Over time, as your skills and strength improve, you may find it beneficial to upgrade to a heavier bag or implement variation in weight in your training routine. By understanding these weight considerations, you can create a more effective and productive punching bag installation that enhances your training sessions.
Faq
Q: How high should I hang my punching bag?
A: Hang your punching bag so that the center is at approximately your knuckles when you stand in your fighting stance. This typically means 5 to 7 feet off the ground, depending on your height. Adjust accordingly for punching comfort and effectiveness.
Q: What type of ceiling mount should I use for my punching bag?
A: Use a heavy-duty ceiling mount designed for hanging punching bags. Ensure it can support the bag’s weight plus any additional force from punches. Check rated load capacity to avoid accidents during use, referencing the installation guide in the article.
Q: Can I hang a punching bag in my garage?
A: Yes, you can hang a punching bag in your garage. Ensure that the ceiling is strong enough to support the bag, and consider the space needed for swinging and movement. Secure anchors properly, especially in a less controlled environment like a garage.
Q: What tools do I need to install a punching bag?
A: You will typically need a drill, stud finder, wrench, and screws or bolts suitable for your mount type. Refer to the “Essential Tools and Materials for Installation” section to ensure you have everything ready before starting.
Q: Is it safe to hang a heavy punching bag indoors?
A: Yes, it’s safe to hang a heavy punching bag indoors if properly installed. Verify that the mount is secure and the bag is well-supported to prevent injuries. Regularly check for wear and stability, as noted in the “Safety Tips for Installing Your Punching Bag” section.
Q: What are the best locations for hanging a punching bag?
A: Ideal locations include basements, garages, or outdoor areas with ample space. Ensure the area is free from obstructions to allow for full movement. Refer to the “Best Locations for Hanging Your Punching Bag” for more detailed guidance.
Q: How do I check if the punching bag is securely hung?
A: After installation, pull and push on the bag gently to test its stability. Look for excessive wobbling or movement. If there’s any instability, re-check the mount and anchors to ensure everything is securely fastened.
Q: How often should I maintain my punching bag?
A: You should inspect your punching bag for wear and tear every few months. Clean it as needed and check the mounting hardware to ensure it remains secure. Regular maintenance helps prolong the life of the bag and keeps it safe to use.
Closing Remarks
Congratulations on mastering the installation of your punching bag! Remember, creating a dedicated training space is key to maximizing your workouts and building your skills. If you’re eager to enhance your boxing or martial arts journey, check out our related articles on “Choosing the Right Equipment for Your Training” and “Safety Tips for Home Workouts” to ensure you’re well-prepared and protected.
Don’t wait any longer-get started today and take your training to the next level! If you have any questions or need further guidance, leave a comment below. We’d love to hear about your setup journey, and sharing can help others too. For the latest tips and resources directly to your inbox, subscribe to our newsletter.
Stay safe, train smart, and remember: your journey in martial arts is a continuous learning experience. You’re one step closer-keep pushing forward!
Get our latest guides, news, and insights highlighted in your Google Search & AI Overviews.